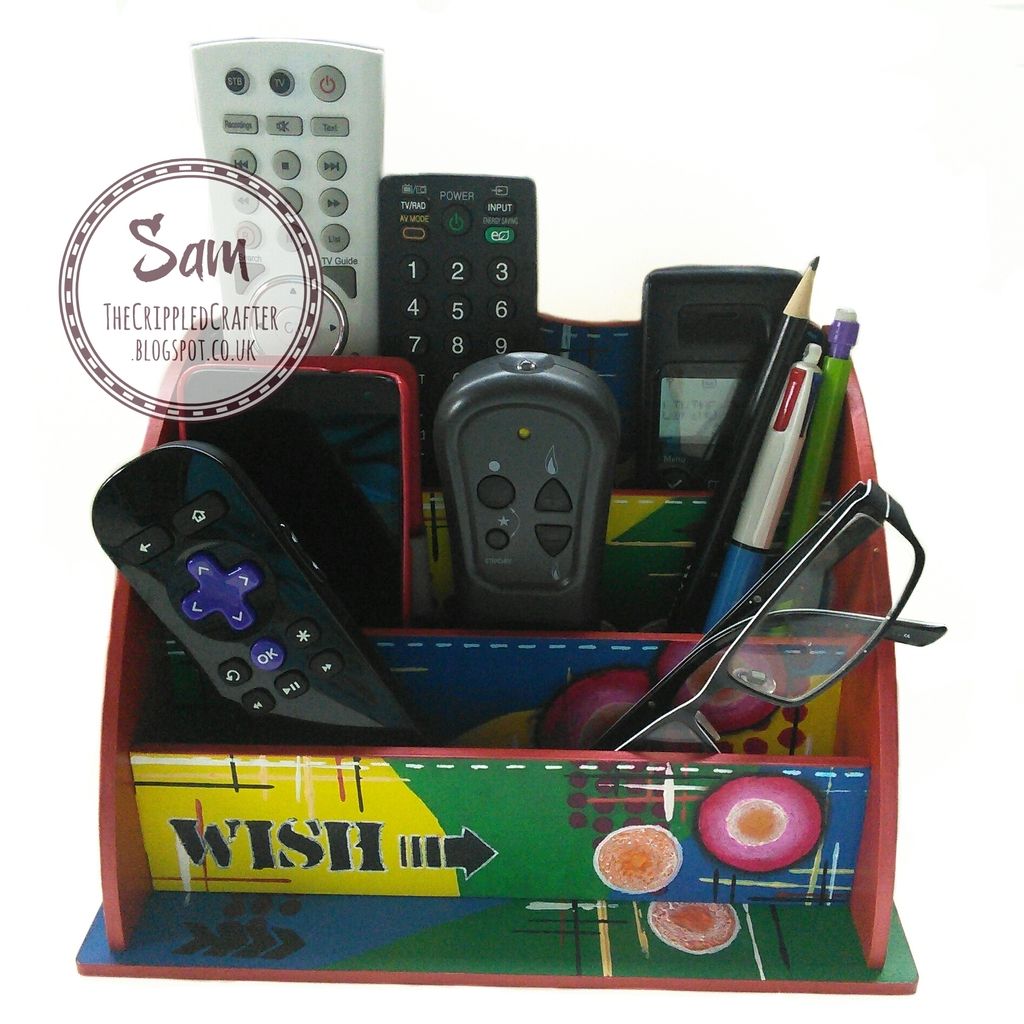
It's Sam here and I have a Tutorial on how to make my project from this fortnight's challenge.
DAZZLING DESK TIDY

DAZZLING DESK TIDY
- - - - - - - - - - - - - - -
- - - - - - - - - - - - - - -
I used the following materials:
THAT CRAFT PLACE MDF / GREYBOARD
Large Remote Control Holder / Desk Tidy
MEDIUMS USED
White Gesso
Acrylic Paint (various brands)
Cosmic Shimmer Paint (Russet Red, Sunrise)
Gelatos (Coconut)
Inktense Pencil (Black)
Posca Paint Marker (White)
OTHER PRODUCTS USED
Dots stencil by That Craft Place
Words stencil by That Craft Place
All products above available from That Craft Place.
ANYTHING ELSE
Various round objects to draw round!
Old credit or gift card
Tutorial
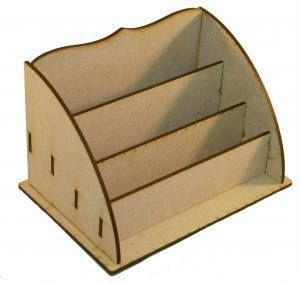
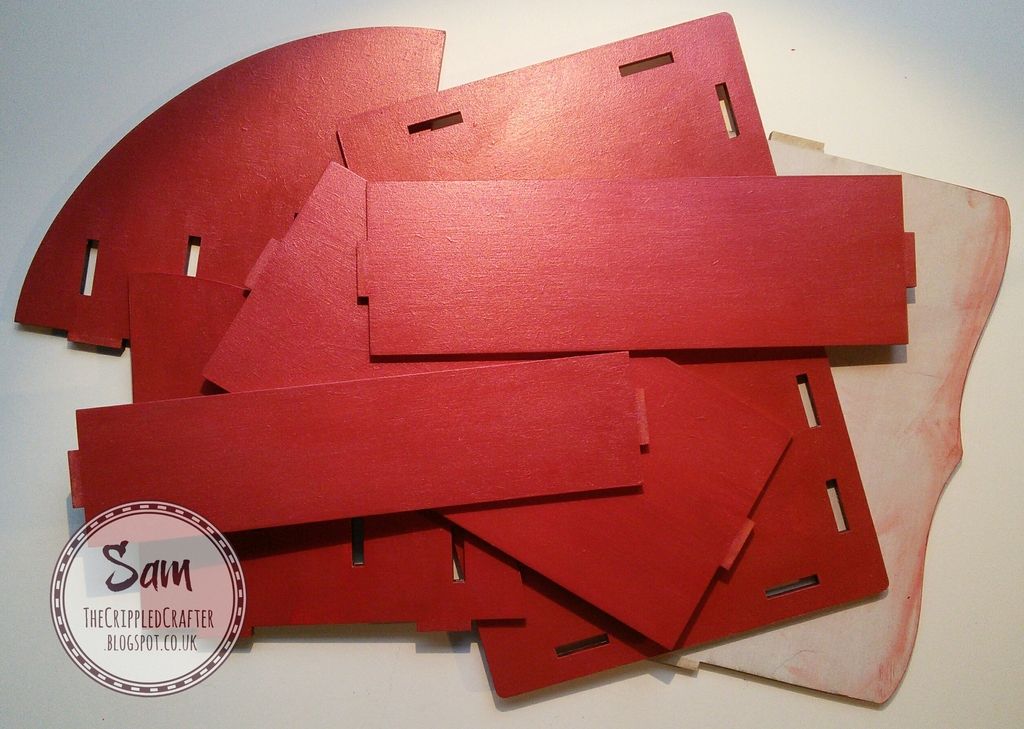
This is the fabulous MDF Large Desk Tidy before I got my hands on it! It is of course available from That Craft Place!
Don't forget to let each stage dry (or use your heat tool) before you continue to the next stage!
GRAB WHITE GESSO & THE COSMIC SHIMMER PAINT (Russet Red):
1... Give all the pieces a thin coat of white gesso on both sides and the edges.
TIP: Avoid getting any paints on the tabs which slot together. If you do, wipe it off.
2... Once dry, sand the surfaces lightly.
3... Apply 2 to 3 thin coats of the Cosmic Shimmer Paint to one side and the edges of all the pieces except the piece that forms the back panel. Only apply the paint to the top edge of this piece.

- - - - -
THEN GRAB YOUR ACRYLIC PAINTS:
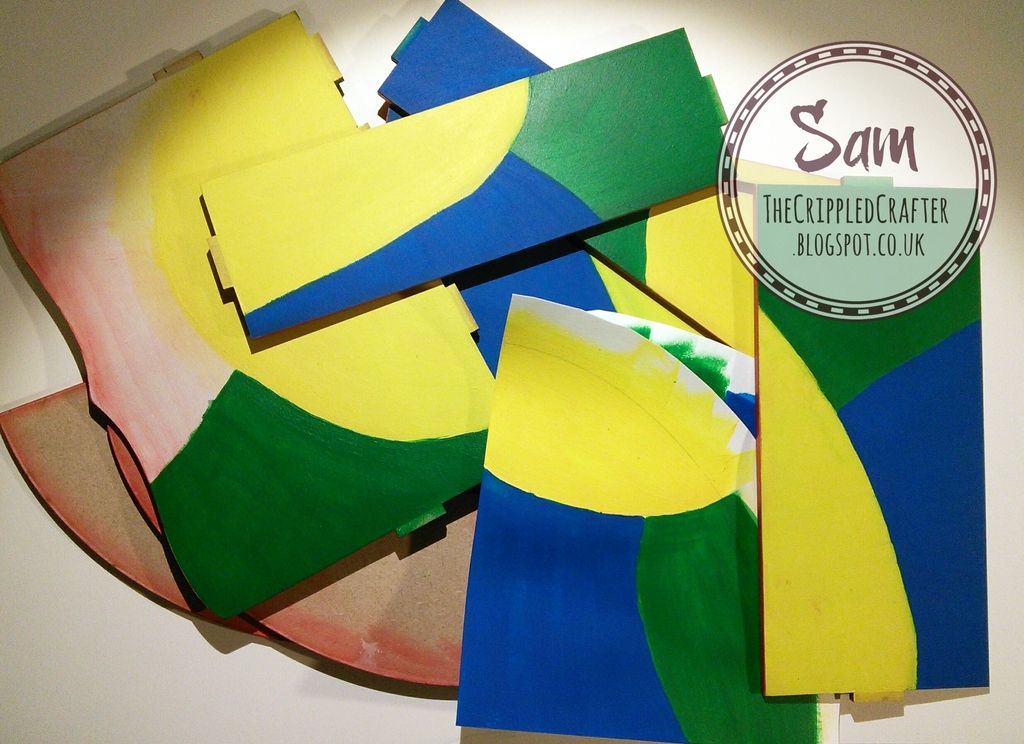
4... Paint blocks of colour on to the remaining unpainted surfaces.
TIP: I didn't paint direct onto the outside surfaces of the side panels. Instead I drew round the panels onto thick cartridge paper and painted these. This is so that once constructed, the tabs which slot into the side panels are not visible.

- - - - -
NOW IT'S TIME TO START PLANNING THE DECORATING!:
TIP: Avoid getting any paints on the tabs which slot together. If you do, wipe it off.
2... Once dry, sand the surfaces lightly.
3... Apply 2 to 3 thin coats of the Cosmic Shimmer Paint to one side and the edges of all the pieces except the piece that forms the back panel. Only apply the paint to the top edge of this piece.
- - - - -
THEN GRAB YOUR ACRYLIC PAINTS:
4... Paint blocks of colour on to the remaining unpainted surfaces.
TIP: I didn't paint direct onto the outside surfaces of the side panels. Instead I drew round the panels onto thick cartridge paper and painted these. This is so that once constructed, the tabs which slot into the side panels are not visible.
- - - - -
NOW IT'S TIME TO START PLANNING THE DECORATING!:
5... Glue the cartridge paper (painted in the last step) to the side panels. Trim to size.
6...
Using bottle lids, drinking glasses or any other circular items (or a
compass!) begin to lightly draw lightly with a pencil onto the panel
fronts.
TIP:
I found it helpful to slot the project together at this point. It
helps you to visualise the finished look and decide where to position
the circles and other decoration.
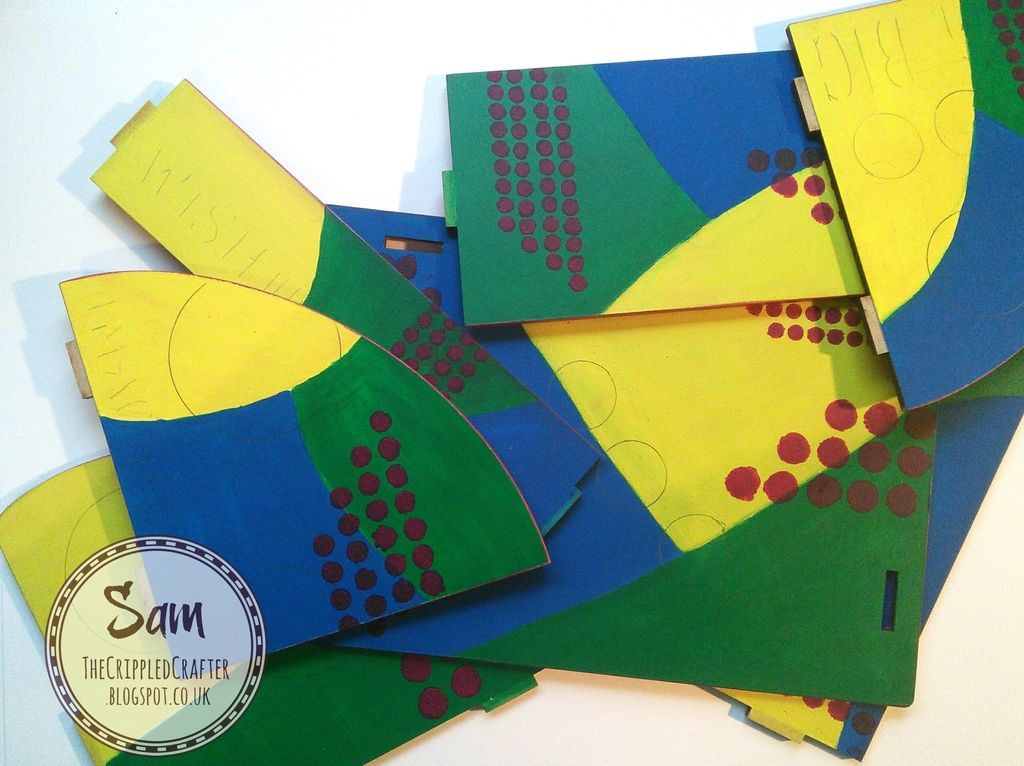
7... Take your stencil and very lightly mark where these will go on the panels. (I used a words stencil by That Craft Place at this point).

- - - - -
THEN:
7... Take your stencil and very lightly mark where these will go on the panels. (I used a words stencil by That Craft Place at this point).

- - - - -
THEN:
8... Using the Dots stencil by That Craft Place I sponged a bright pink acrylic paint onto the panels.
TIP: Light sponging with a sponge dabber helps the stencilling to keep clean defined edges.

- - - - -
CONTINUE LAYERING:
- - - - -
CONTINUE LAYERING:
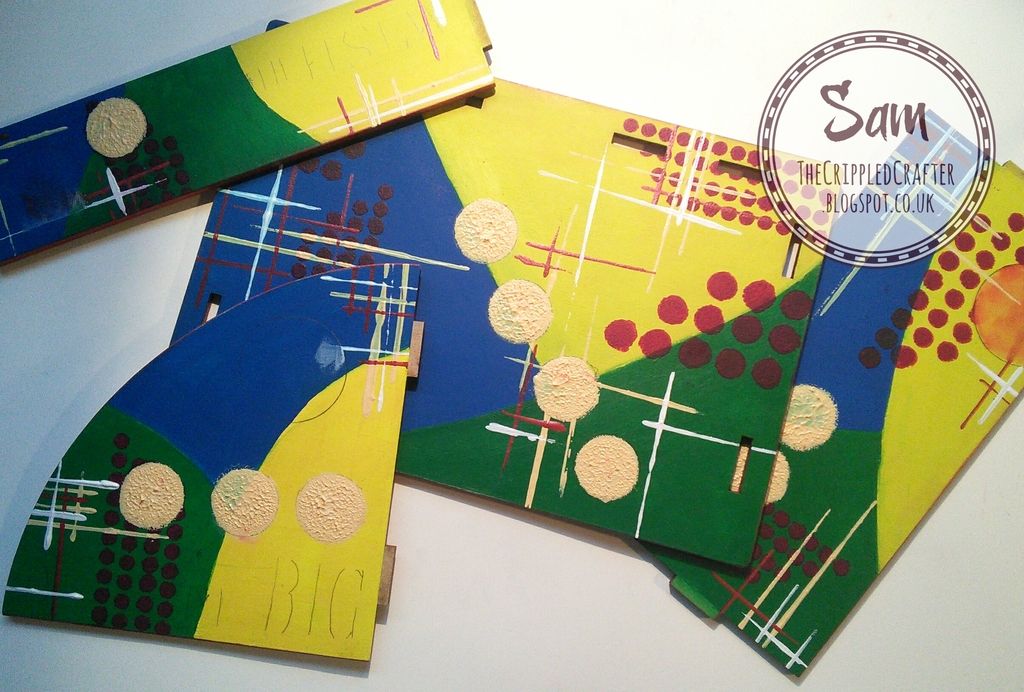
9... Using the edge of an old credit or gift card, apply lines of paint in different colours.
10... Start adding some colour to the smaller circles.
TIP:
Rather than using a paint brush, I used a sponge dabber and kept adding
paint to the smaller circles in a dabbing motion. This added texture
and therefore interest to the piece.

- - - - -
KEEP GOING, YOU'RE DOING GREAT! :
- - - - -
KEEP GOING, YOU'RE DOING GREAT! :
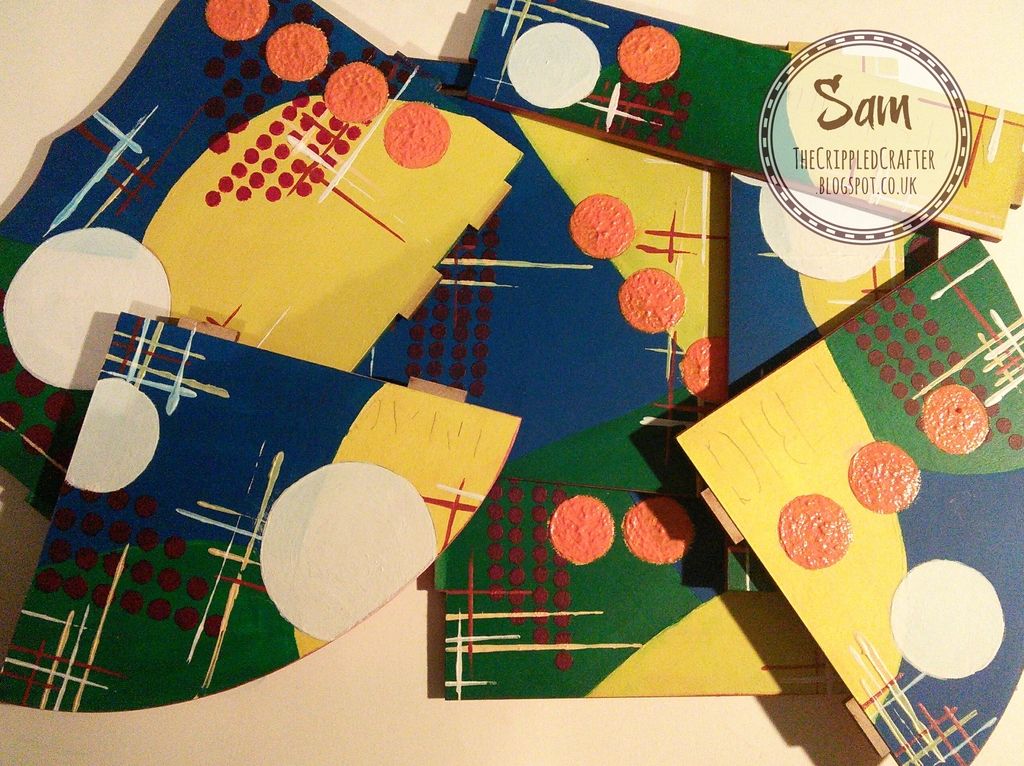
11... Apply a couple of coats of white gesso to the remaining circles.
12... I
also added a different colour to the smaller circles at this stage as I
didn't like how the paler colour looked. This is optional though.

- - - - -
STAYING WITH THE LARGER CIRCLES:
- - - - -
STAYING WITH THE LARGER CIRCLES:
13...
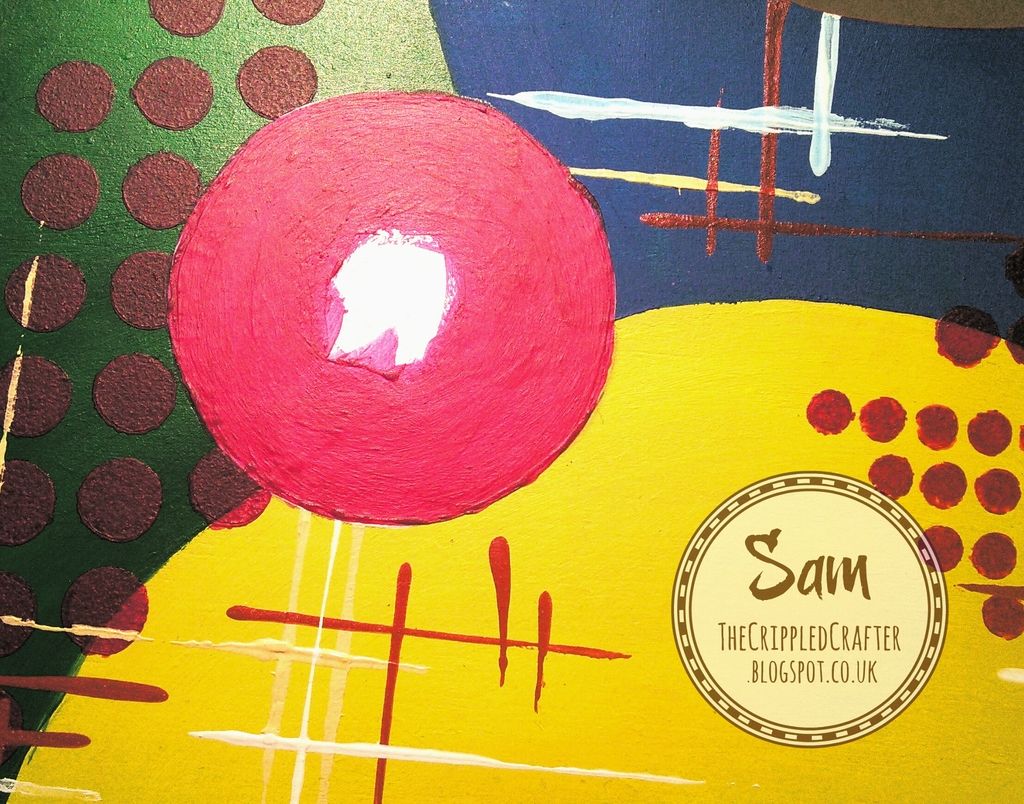
Build up a nice opaque covering of the bright pink paint (that we used
for stencilling through the dots stencil earlier) round the outside of
the circles, leaving the centres white for now. Repeat for every
circle.
TIP: You don't need to be too tidy in the centre of the circles at this stage.

14... Add a contrasting colour to the centre of the circles that we have just painted.
TIP: I chose to mix together an orange acrylic paint with some Cosmic Shimmer Paint in "Sunrise".
14... Add a contrasting colour to the centre of the circles that we have just painted.
TIP: I chose to mix together an orange acrylic paint with some Cosmic Shimmer Paint in "Sunrise".

- - - - -
TIME TO ADD SOME HIGHLIGHTS :
15... Using a white Gelato (Colour "Coconut") I rubbed this over the join between the 2 colours in the large circles.
TIP: Add some to start and rub in circles, then add a little more a rub again to build it up.
16... Apply more of the Gelato to the outer edges of the small circles.

- - - - -
NOW THE WORDS! :

- - - - -
NOW THE WORDS! :
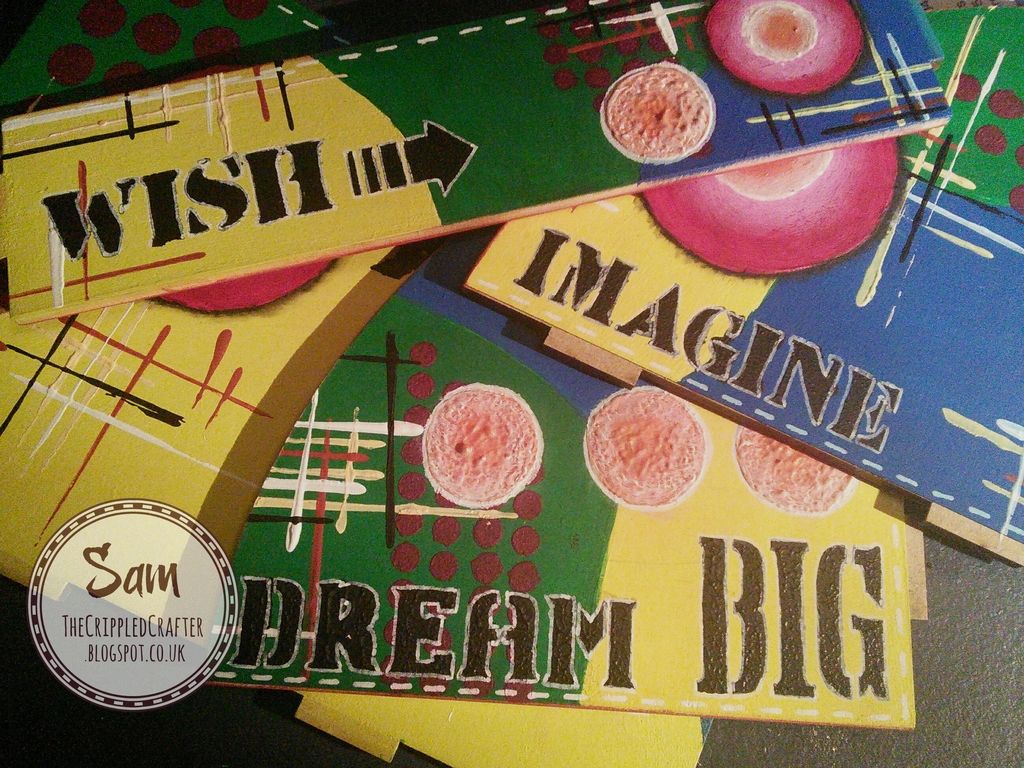
17... Lay the Words stencil back over the areas where we had marked the word positions in step 7.
18... Sponge black acrylic paint through the stencil in a light dabbing motion.

- - - - -
AND NOW THE FINISHING TOUCHES :
19... Using a white paint marker, outline the lettering.
20... Also outline the small circles.
21... Add faux stitching dashes to the top edges of the panels.
22... Using a black Inktense pencil, shadow round the large circles, using a water brush to smudge the edge slightly.
- - - - -
TIME TO CONSTRUCT! :
23... If you need to touch up any of the red painting done in step 3, now is the time to do it!
24... Apply white glue to the outside edges of each divider & back panel & slot into the side panels.
TIP: I like to keep pressure on the sides for a couple of minutes to allow a good bond to form before continuing.
24... Apply white glue to the outside edges of each divider & back panel & slot into the side panels.
TIP: I like to keep pressure on the sides for a couple of minutes to allow a good bond to form before continuing.
25... Apply white glue, this time to the bottom edges & slot into the base from the decorated side.
TIP: Again, keep pressure on the joins for a couple of minutes to allow a good bond to form. Let dry solid for a few hours. I usually leave overnight.
ENJOY! 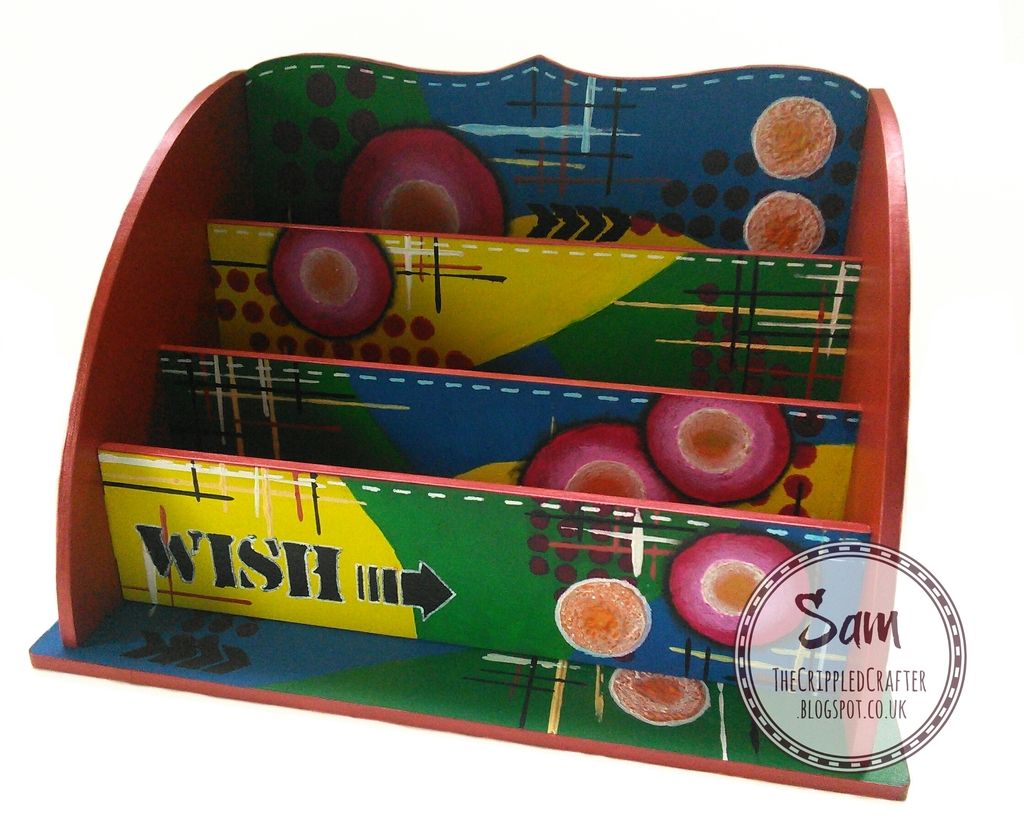
- - - - - - - - - - - - - -
Links you need to know
That Craft Place Website
- - - - - - - - - - - - - - -
xxSAMxx
- - - - - - - - - - - - - - -
Don't forget our latest challenge is HERE
xxSAMxx