Followers

Showing posts with label Sandra Carey. Show all posts

Sunday, 27 March 2016

Anything goes 27th of march = challenge 7

************************
With deep regret this will be our Last challenge
Until further notice 
Its been amazing and the DT ladies past and present have been an utter joy and a pleasure to work with ... But sometimes all good things come to an end or in our case a large holiday. 
For our last challenge 
we will go out in a bang with 3 prize's 
1st prize will get 7 images 
2nd will get 5 images 
3rd will get 3 images 
from our store 
But dont fear too much our Ladies have mainly all gone to 
Petal Lu Challenge Blog 
So make sure you hop on over there to keep them company. 
*************************************************


Now its time to showcase our amazing DT 
With a few sneaky peeks at some new digi's coming to
The Etsy store real soon.


Angela


Tutorial - 2nd April

Sandra


Links you need to know 


Sunday, 13 March 2016

Anything goes 13 of march challenge 6


  • Its Challenge time here at 
And Our Challenge this time is Anything Goes 
Our Prize is 
5 images of your choice  from our store 

Now its time to showcase our amazing DT 


Lucy
Using the Creative Memories Float Your Boat Clear stamp set.
Featured in Lisa's Creative Expressions Home Decor One Day Specials on Hochanda. The shows can be viewed on Hochanda Catch Up - Thursday 10th at 8pm & Friday 11th at 9am, 12, 4pm & 7pm. They're well worth watching - so many great tips & techniques.


Nicola
Using the Creative Memories Float Your Boat Clear stamp set.
Featured in Lisa's Creative Expressions Home Decor One Day Specials on Hochanda. The shows can be viewed on Hochanda Catch Up - Thursday 10th at 8pm & Friday 11th at 9am, 12, 4pm & 7pm. They're well worth watching - so many great tips & techniques.


Kay


Lu

Links you need to know 


Tuesday, 16 February 2016

6x6 Gate fold Mini Album

6x6 Gate fold Mini Album

Products you will need
Red Liner Tape Strong glue Greyboard
Good quality card 
All of which are available from
All measurements are in Inches

Start with cutting your pieces of Greyboard to
6x3  6x2 ½  6x6  6x 2 ½   6x3
 next stick 2 landscape pieces of A4 Card stock together
and use Red Liner tape to place in this order in the photo above
When placing these you need to leave a gap of two thickness of grey board
so cut two small pieces and tape together for a guide this is so you can close the ablum with ease

Trim the corners off your card stock but do not go to close
Add Red Liner Tape to all sides of the greyboard and Cardstock


Fold over the Long edged first and stick then tuck at the end so all four corners
are neat and tidy and the fold over and Stick the sides down


This is what you should have now


Next we make the Base for the spines to sit on Cut 2 pieces of card 5 ¾ x4
add tape like in the pic these will cover both the 6 x 2 ½ panels


For the spines Take 3 pieces of card 5 ¾ x 3 5 ¾ x2 and 5 ¾ x1
score on each side ½ in


Glue these onto each panel


Next cut 10 pieces of card for the pages 5 ¾ x 5 ½


Now you decorate all your pages 
except the front and back covers 
Because we will be adding to this 
on the 15th March 

I hope it makes Sense to you but if you get stuck Leave a message here 
and I will always be on hand to help 

Thank you so much for Reading
Crafty Hugs 
Sandra 

Don't forget our latest challenge is HERE

Links you need to know 


Sunday, 14 February 2016

Anything goes challenge 14th February = challenge 4

Its Challenge time here at 
And Our Challenge this time is Anything Goes 
Our Prize is 
5 images of your choice  from our store 

Now its time to showcase our amazing DT 


Lucy


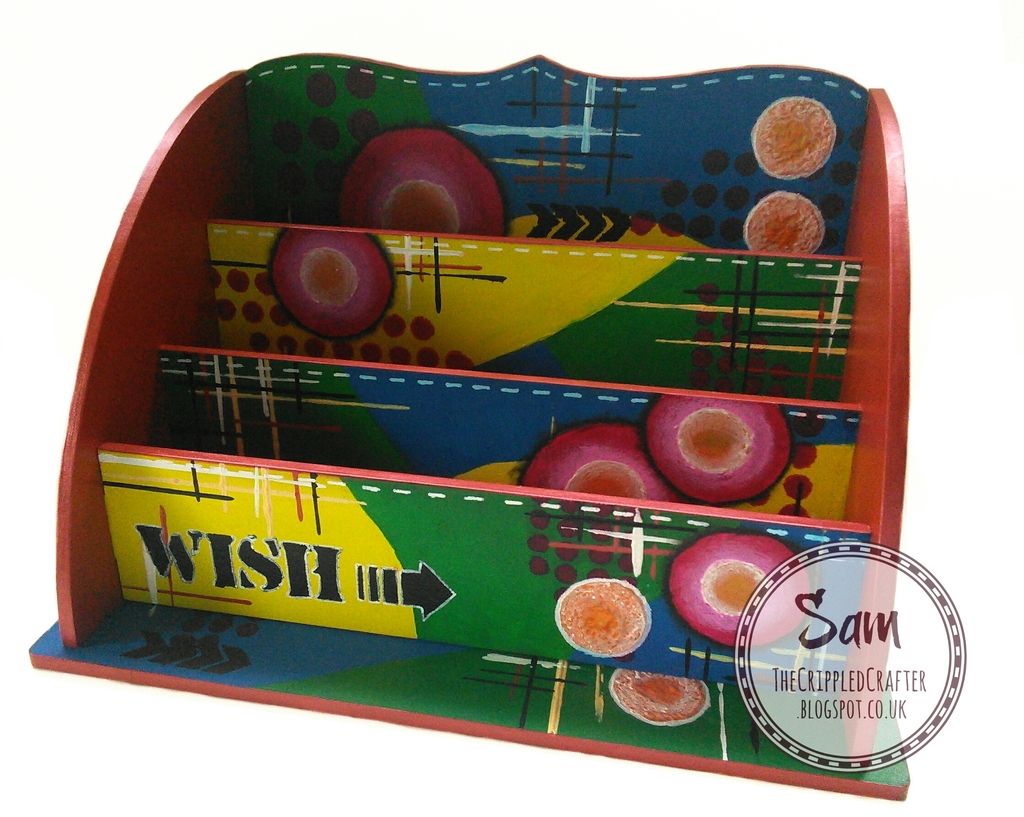
Please pop back on Thursday when I'm going to share with how you make and decorate this Desk Tidy!
       
Nicola


 Pop back on Tuesday 23rd February for a step by step tutorial for this MDF Tool Caddy!


Links you need to know 


01 09 10