Followers

Showing posts with label Craft Consortium. Show all posts

Monday, 21 March 2016

Vintage Family Memories - Tutorial Post


Hi everyone and welcome today to my tutorial post, it's Julie here from Juliz Design Post. I created this wall hanging which measures approx 14" x 6" excluding the hanger using products and bespoke MDF all available at Lisa's shop. You will find all the links at the bottom of my post.

So let's get started.  


I ripped book pages into strips and glued in place with Mod Podge and applied crackle paste through my mini heart stencil. Once dry I sprayed over with Antiqued Bronze Distress Stain and wiped back with a baby wipe, to highlight the crackles.


Using Craft Consortium's English Garden Paper pad, I tore layers to reveal the white core and glued in place.


You will notice I marked off the area I wanted to keep blank on my MDF so it would all glue in place neatly and level.


I used a mixture of Embossing Powders and Glass Glitters around my frames to draw the eye into the picture and for an extra added vintage look.


I tattered layers and built up my frames for my images adding in lace, pearls and cheesecloth.


My MDF Pocket Watch from TCP comes with the clock face heat set onto it. I embossed with an Old Gold powder and white washed the clock face, gluing in place and adding a generous layer of Glossy Accents, a Metal Tassle and a touch of bling.


My main image I fussy cut butterflies from Craft Consortiums Gypsy Gypsy Pad and added to my image. Layering on lots of pearls, lace and my floral bouquet. 


My flowers were made using Cheery Lynn's die - B338 Black Eyed Susan Strip. For the MDF heart I used Tattered Rose Distress paint and added a small key from Craft Consortium.


The little twigs you get in a small bundle available from TCP are great for accents and Witches Brooms, this time I rolled them in my Versamark ink Pad and heat set with a Bronze powder adding on some pearl beads. 


I used TCP's Film strip on this side, painting it Black, adding some small Sepia coloured pictures behind and a layer of glossy accents on top.


I finished off by getting my husband to drill a couple of small holes in either side and thread through a metal wire which I threaded with pearls from an old necklace. And finished my centre circle with a strip of pearls around the outside.

All products used are available at That Craft Place.

I hope you have enjoyed my tutorial and feel inspired to incorporate these techniques within your craft projects.

Look forward to you joining our Current Challenge which is Anything Goes.


Crafty Hugs, 

Julie x

Links you need to know.

Tuesday, 23 February 2016

MDF Tool Caddy Tutorial

Hello everyone, it's Nicola here today with a great tutorial for you. I'm going to show you how to decorate an MDF Tool Caddy.


 Product's I've used are of course from my favourite shop

Product List...
MDF Tool Caddy ~ Americana Decor Chalk Paint Primitive ~ Craft Consortium Decoupage Paper White Crack Texture and Wild Meadow ~ Cosmic Shimmer Matt Glue, Seal & Glaze ~ Americana Decor Ultra - Matte Varnish ~ Cosmic Shimmer Colour Cloud Ink Decadent Oak ~ Cosmic Shimmer Acrylic Glue ~ Cosmic Shimmer PVA Dark Bronze ~ Ornate Pearl Sticker ~ Flowers ~ Flowers Linen Cotton Ribbon ~ Collall 3D Glue Gel

Already in my crafty stash...
Create Quote ~ Ecoline White Paint ~ Rigger Brush ~ Tim Holtz Findings Memory Key

Step By Steps...

1. Paint the inside of the two end panels, making sure you paint the edges. Paint the inside of the front & back panel, make sure you don't paint the tabs. Paint the edges of these and the edges of the middle section. Leave to dry. 
* I've left the base of the Tool Caddy unpainted. If you like to be a frugal crafter you will understand why. There is no point wasting paint on the bottom when you won't even see it. On the other hand, if I was giving this as a gift, then I would paint the bottom!*


2. When the paint is dry, paint over all the pieces with the Ultra-Matte Varnish. Leave to dry.


3. Paint the Matt Glue, Seal & Glaze onto oneside of the MDF centre panel. Tear a square of the crackle paper to fit the panel, leaving the tabs. Press onto the MDF, then sand away the edges. Paint over the matt seal glue and leave to dry. Repeat the same with the other side. Leave the glue to dry.


4. Use a sponge to apply the colour cloud to the handle and rub over the crackle paper.


5. Put the caddy together. Then paint glue over the joins to secure everything together.


6. Lay the caddy on it's side. Use the rigger brush, dip into the white ecoline, then tap the brush over the handle. This is really random, the little paint splatters will go on other parts of your caddy, but I quite like this. It's arty! Do the same on the other side, then leave to dry. 


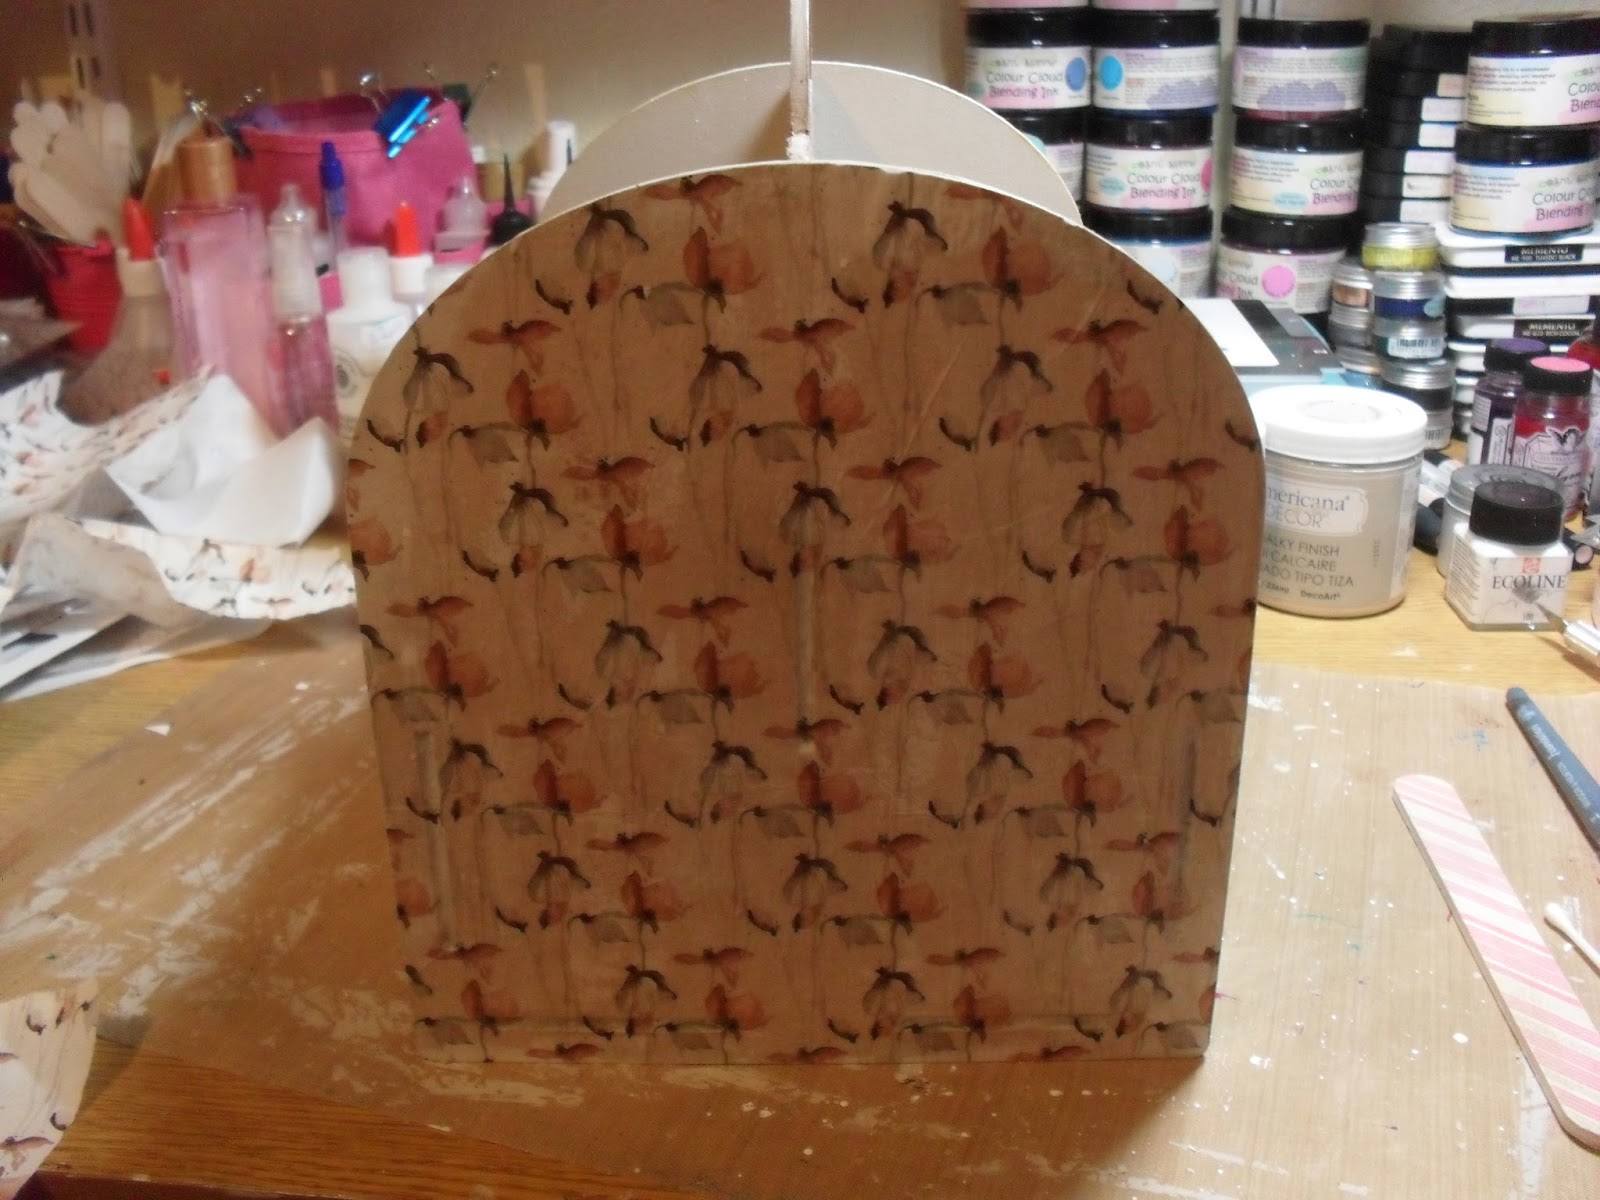
7. Tear two pieces of the Wild Meadow Decoupage paper big enough to fit the outer panels and the front and back panel. Lay the paper on the front and back panels before applying glue and use a craft knife to trim to size.  Now cover the panels using the Matt Glue, Seal & Glaze. Smooth over the paper, sand away the excess paper and cover with another layer of the glue seal then leave to dry.


8. Carefully paint the Dark Bronze PVA at the bottom edges to finish off the panels. Use a fine brush and paint swirl lines along the edges of the sides.


9. Apply the ornate pearl sticker to the panel you want to be the front of the caddy.


10. Tie the cotton ribbon to the handle and tie a bow. Glue the Create Quote to the opposite side of the bow. Use a length of ribbon to thread through the key. Attach just below the bow at the front. Tie another bow at the back of the caddy. I know the key says 'memory' but I like it for this. Finish off by gluing the flowers on to the caddy. Finally fill the caddy with your tools!


I think the Tool Caddy looks very pretty sat on my desk!


I hope you have enjoyed my tutorial today. 
Happy Crafting,
Lot's of love
Nicola
XXX

LINKS YOU NEED TO KNOW


Wednesday, 17 February 2016

Valentine's Memory Box Tutorial


Hello and welcome, it's Julie here from Juliz Design Post sharing with you my first tutorial at That Craft Place. I was lucky enough to attend an Andy Skinner Workshop last year where I learned lots of different techniques. You will see many of them on You Tube. This keepsake box uses some of his techniques and inspiration of my own, so let's get started.


I have had this little box that measures approximately 3 x 6 inches in my craft stash for a while and just knew it would look amazing teamed up with products and Bespoke MDF from Lisa's shop.

I started by giving my box a sand to get rid of any rough edges and applied my paint with a square of Cut and Dry Foam, which gives a much smoother finish.


I prefer to apply a thin layer of this product with my finger rather than a brush. Be patient waiting on this drying as using a heat gun it can start to bubble.


I next started to apply a medium layer of Crackle Paint with a brush, the magic begins almost immediately. Andy Skinner calls this his mega crackle technique.


Once dry I gave this a layer of varnish to seal the crackle.


Now where the fun begins to make this box look aged. I brushed over with a very watered down mix of Paper Artsy's gold paint and dried with my heat gun.


I rubbed over my whole box with my anti static bag (this stops powder sticking where you don't want it to) and rubbed around the edges with an embossing ink pad. Adding a mix of gold and bronze embossing powders and heating setting in place. Next highlighting the edges with a little more red paint to define. 


Next I pressed my embossing ink onto my MDF Hinges and added gold shades of embossing powder. I started to melt with the heat gun and kept adding and sprinkling Distress Powder in Vintage Photo and a Verdigris shade until I was happy with the result.


Finishing them off with a little black paint scuffed over the edges with a baby wipe.


I used Craft Consortium's Red Roses Decoupage papers to line the inside of my box. My MDF Hearts were painted with the same red paint, I then added some embossing powder around the edges of the hearts in the same way I did the outer box. Next I added a layer of Deco Art Clear Crackle Glaze. Once dry I rubbed over with Deco Art White Antiquing Cream to highlight the cracks and added Ranger Chit Chat stickers.


My Cheery Lynn Photo Frames ( B673 Film Set ) were die cut out in Black Cardstock and heat embossed with clear powder to look like camera film. I used my scratchy tool on my Tim Holtz Lost Relatives photos to shabby them up.


The flat button from Creative Expressions I highlighted with a little Gilding Wax and added some red paint to my MDF word and glued both in place with Cosmic Shimmer Glue.   

All the products used on my box are available at That Craft Place. I hope you enjoyed my tutorial and feel inspired to try out these techniques with the designs.

                                                         Links you need to know:

                                   That Craft Place Facebook Shop
                               That Craft Place Natter chatter page
                                           That Craft Place Etsy
                                              That Craft Place


I would love if you have time to leave a comment. 

Crafty Hugs,

Julie x

                                                   
01 09 10